通过我们的视频课程获取灵感,学习计量知识。
精彩视频
请咨询您当地的 #HandsOnMetrology 合作伙伴
寻找代理商
走进舍宁根研究博物馆,将带你穿越30万年的历史长河。博物馆借助于三维扫描解决方案采集有关发现的详细信息。无论是文物的重建,还是精确的表面检测:GOM Scan 1和软件解决方案都能洞悉历史的轨迹,让每个人感受到历史的奥秘。 如需了解关于该博物馆的更多信息,请访问 https://forschungsmuseum-schoeningen.de/home
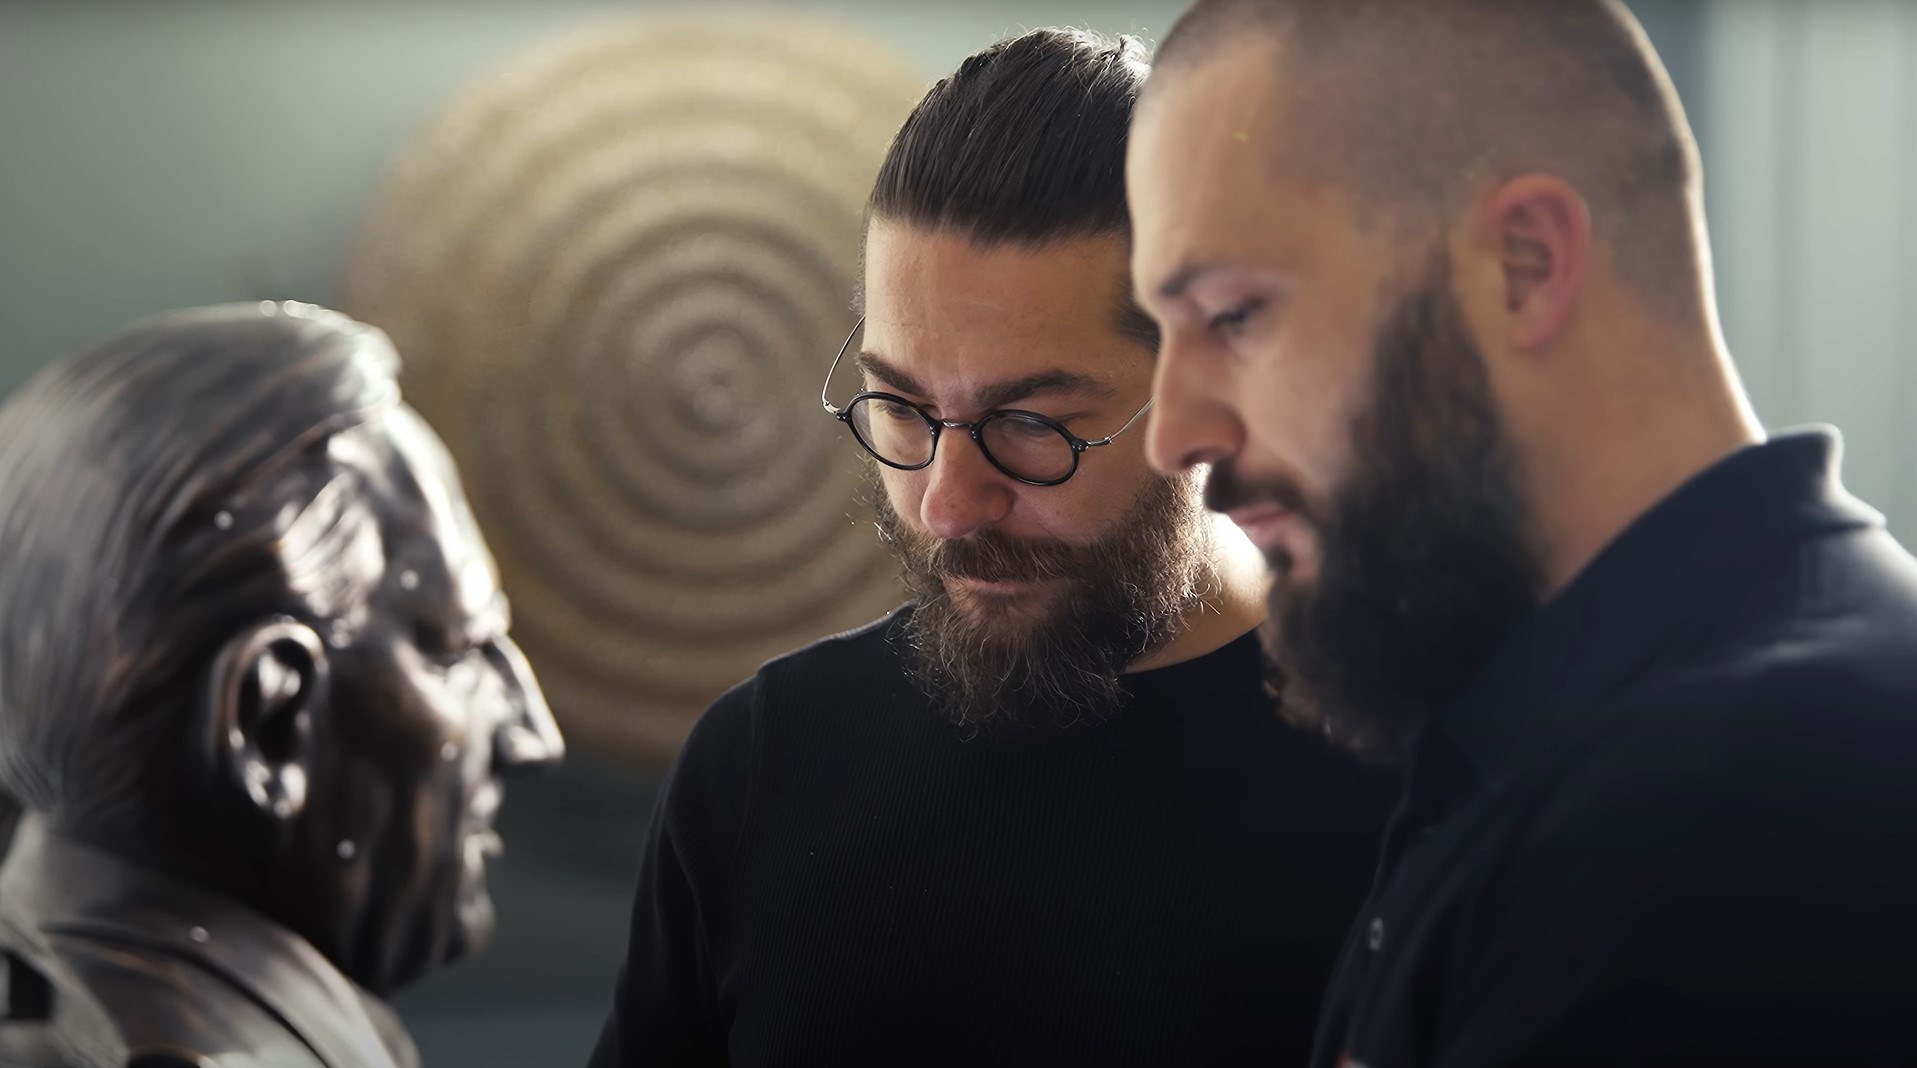
在Vudrag Industries,利用3D扫描技术创作艺术品是他们的日常工作。通过ATOS Q和ZEISS T-SCAN hawk 2进行简单的3D扫描,即可实现对金属雕塑的保存、艺术品的尺寸缩放以及将不可见的部分可视化。想了解更多关于蔡司三维扫描产品的应用吗?请访问:https://www.handsonmetrology.cn/products #三维扫描 #蔡司 #文博 #艺术
Additive Drives公司致力于研发高度创新且高效的电动机。他们的秘诀何在?那就是根据客户的具体需求,利用3D打印技术定制电动驱动装置。ATOS Q 3D扫描仪能够在开发阶段及之后,为他们的工具和部件提供快速且精确的质量保证。想了解更多关于ATOS Q的应用,请访问:https://www.handsonmetrology.cn/products/atos-q/ #蔡司 #三维扫描 #电机 #3D打印
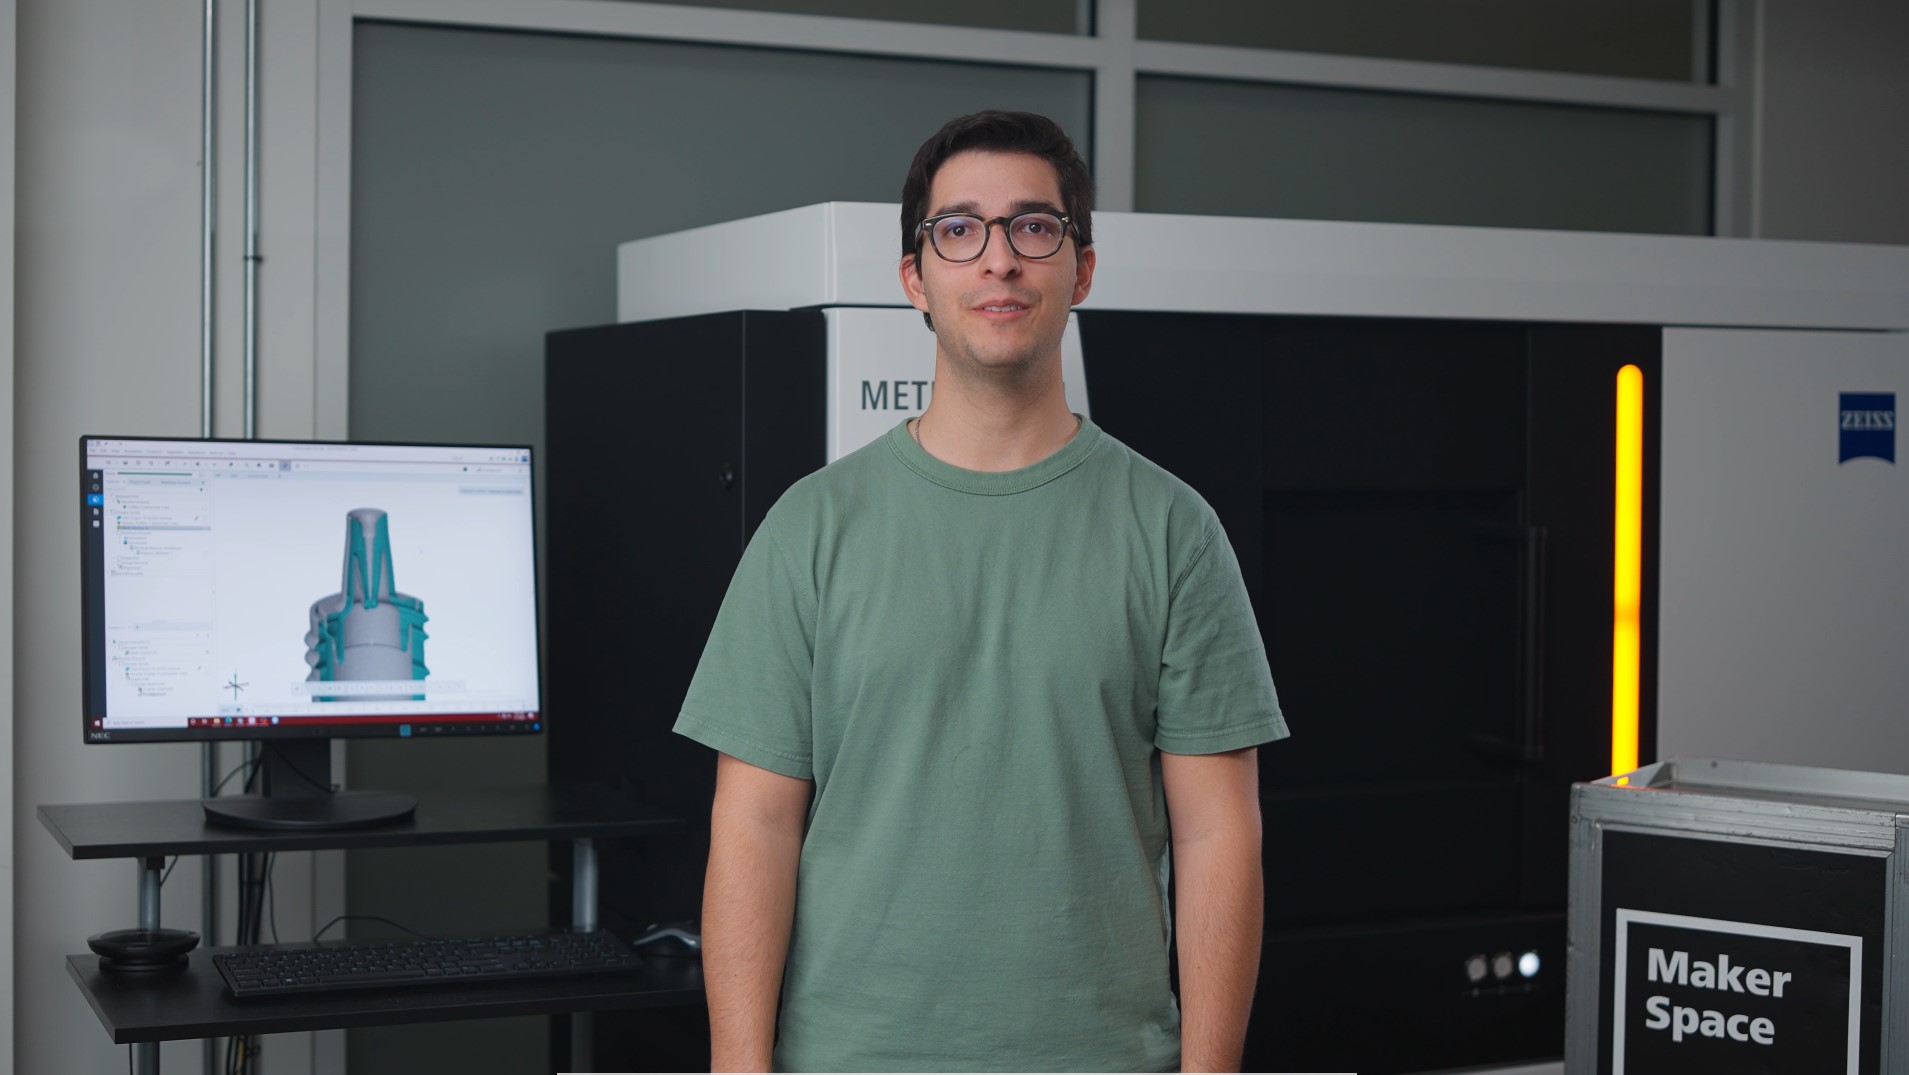
医疗行业的塑料零件通常是复杂的组件,甚至是透明的,无法通过光学或接触式测量方式进行检测。让Juan向您展示如何使用METROTOM 1,通过一次扫描获得所有信息,甚至检测部件内部,以确保最佳功能。
显示的所有功能在当前软件版本中均可用。
对三维扫描有任何疑问吗?请发送电子邮件至support@HandsOnMetrology.com联络我们